OpenSolaris
by Ross Nelson, June 19, 2005
Note: Jörg Schilling pointed something out that I didn't make very clear in this document. This isn't much of an install, per say, of OpenSolaris. It's an install of Solaris Express and then an overwrite of portions with the open sourced versions from OpenSolaris. To do an actual install of OpenSolaris, check out Jörg's SchilliX.
My Ultra 2 is incapable of running anything past Solaris 9 due to the 200mhz processors, and I wanted to play with zones and, preferably, OpenSolaris. So, having broken FreeBSD three times in a row (updating ports isn't going so well), I burnt the ISOs that I was going to use in Virtual PC and rebooted.
The Solaris Express Build 16 install was incredibly simple. It's, as no surprise, similar to that used since at least Solaris 8. It always takes a long time to install, especially if you do the Entire Distribution + OEM cluster, which is recommended. A reboot or two later and I was booted. It used newboot (GRUB) and set up a Solaris 11 and a Solaris failsafe. It didn't add one for hd0,0 (Windows), but that's an easy fix.
When I was booted and running Java Desktop System (JDS), I noticed I had a problem. I couldn't get to opensolaris.org. My interface wasn't supported. Having checked the HCL, I expected it. I'm running on an ASUS A7N8X-Deluxe using the 3com nic. The following commands had to be done in order to use the nic and to have it request settings over dhcp:
# update_drv -a -i '”pci1043,80ab”'
elxl
# ifconfig -a plumb
# touch /etc/hostname.elxl0; touch
/etc/dhcp.elxl0
After another reboot, I had a working network connection. Next, I needed a compiler. OpenSolaris compiles with gcc, I believe, but that code hasn't been released yet. Fortunately, Sun Studio 10 is now available to OpenSolaris community members. I extracted the studio10-sol-x86.tar and ran ./installer. Upon logging in to download the files, I was sent a serial number. I left all settings as the default so the software was installed in /opt/SUNWspro. Following the directions on the OpenSolaris page, I installed all included patches:
# cd patches
# patchadd -M . patchlist
Next, I set up /etc/profile with a customized $PATH and $MANPATH:
PATH=/opt/SUNWspro/bin:/opt/onbld/bin:$PATH:/usr/sfw/bin:/opt/csw/sbin:/opt/csw/bin:/usr/ucb
MANPATH=/opt/SUNWspro/man:$MANPATH
export
PATH MANPATH
From there, most of the instructions in the Release Notes worked. I used /export/opensolaris as my workspace and copied the needed files there.
# cd /export/opensolaris
# bzcat
opensolaris-src-20050612.tar.bz2 | tar xvf -
# bzcat
opensolaris-closed-bins-20050612.i386.tar.bz2 | tar xvf -
# bzip2
-dc SUNWonbld-20050612.i386.tar.bz2 | tar xvf -
# pkgadd -d onbld
SUNWonbld
# cp usr/src/tools/env/opensolaris.sh .
I edited opensolaris.sh and set $GATE to opensolaris (/export/$GATE is used a couple of lines later to set the path) and $STAFFER to “rnelson” (my username). Then, I built “a complete set of archives.”
# nightly ./opensolaris.sh &
2 hours, 19 minutes, and 32 seconds later, I had an OpenSolaris kernel. Compiling, however, is only the start of the battle. Once built, the kernel must be installed and GRUB has to know about it. First, not all drivers are installed. Those not in ON (OS/Net, Solaris or OpenSolaris kernel) have to be copied before the kernel is installed, or the system may panic. Doing this shouldn't break anything even if OpenSolaris were able to boot perfectly on the hardware.
# cd /platform/i86pc
# mkdir
opensolaris
# (cd kernel; tar -cf - .) | (cd opensolaris; tar xf
-)
Next, I had to actually install the kernel.
# cd
/export/opensolaris/usr/src/uts/i86pc
# Install -G opensolaris
#
cd /
# tar xvf /tmp/Install.root/Install.i86pc.tar
This copied all needed files into a tarball and then extracted them into the proper directories. Before it will work, however, boot_archive has to be updated. Certain (all?) changes inside /platform will cause it to be updated automatically. I had to let filelist.ramdisk know about the kernel so it'd be put into the archive.
# cd /boot/solaris
# echo
“platform/opensolaris/unix” >> filelist.ramdisk
All that was left was to inform GRUB about it. While I was there, I added a section for Windows. The two sections in /boot/grub/menu.lst ended up like this:
#--------------------OpenSolaris---------------------
title
OpenSolaris
root (hd0,1,a)
kernel /boot/multiboot
/platform/i86pc/opensolaris/unix
module
/platform/i86pc/boot_archive
#---------------------Windows
XP---------------------
title Windows XP
rootnoverify
(hd0,0)
chainloader +1
Obviously, the roots will vary based on the partition and slice structure. My NTFS partition is the first thing on the disk and / is the first slice on the second partition.
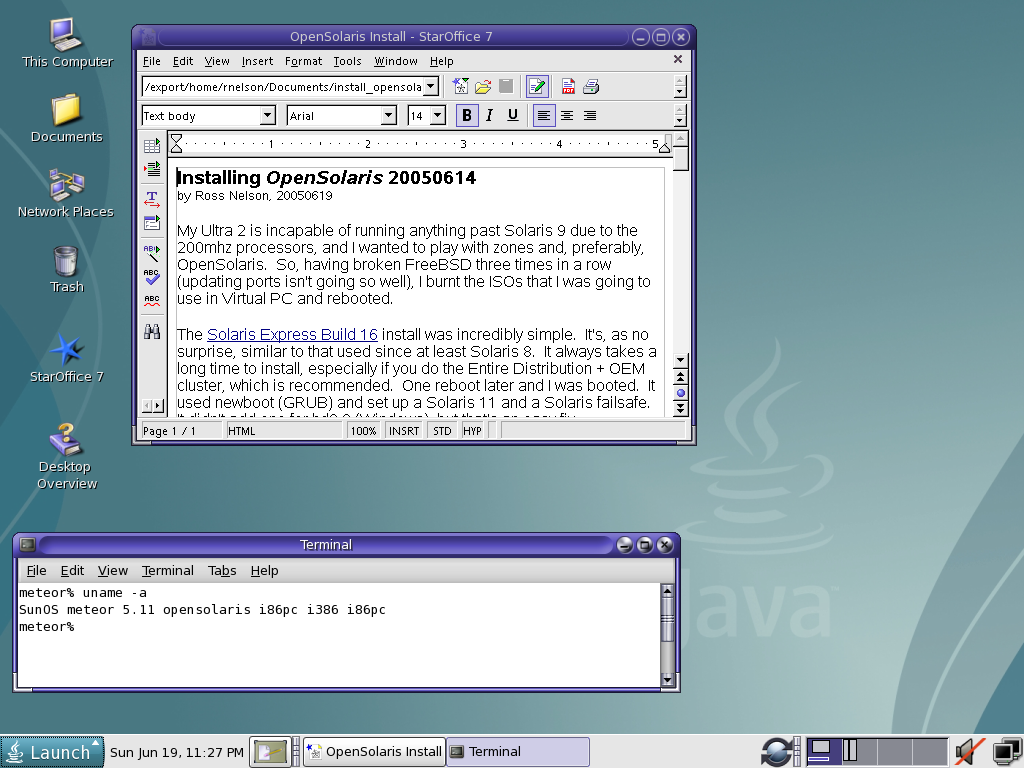
I'm up and running perfectly now. Of course, I need to include the obligatory screen shot: